When visiting the Lofoten and especially Moskenesøya, Reinebringen should be on top of every hikers list. It is a relatively short but really steep and challenging hike (40% - 70%). Even though the summit is at only 448 meter it provides some of the best and breathtaking panoramic views of Reinefjorden, Kjerkfjorden, Reine, Sakrisøy, Hamnøy and the famous Lofoten Wall. It is recommened to wait for one or two dry days in a row so the mountainside can dry a bit and is not too wet and slippery. We did the hike on the end of august after one sunny day without rain and I think we needed about 1.5 - 2.0 hours for the climb and also more than one hour for our way down. Don't forget to plan enough time to enjoy the views on top of the ridge.
You will find the start of the hike at the E10. When driving from Å to Reine you pass through a tunnel (Ramsvikstunnelen) with a parking area right outside of Reine from where you go back along the tunnel and Ramsvika Bay. After about 10 minutes of walking you see this sign on the road which marks the start of the hike.
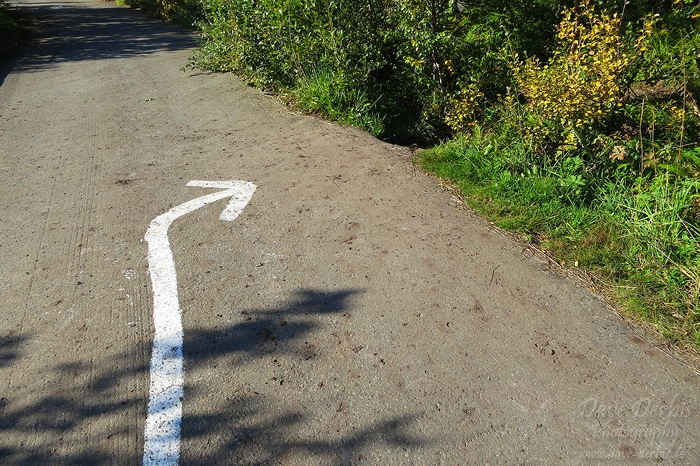
Photo: Start of the trail up to Reinebringen
The trail itself is essentially straight up and sometimes slippery with loose stones. You should feel fit enough for an overall pretty challenging 4 - 5 hours hike and use at least some real hiking shoes. We saw some people struggling on the hillside with wrong shoes, without water or any other hiking gear with them. They had definitely underestimated this hike. It is officially recommended only for those with some mountain experience - obviously for a reason.
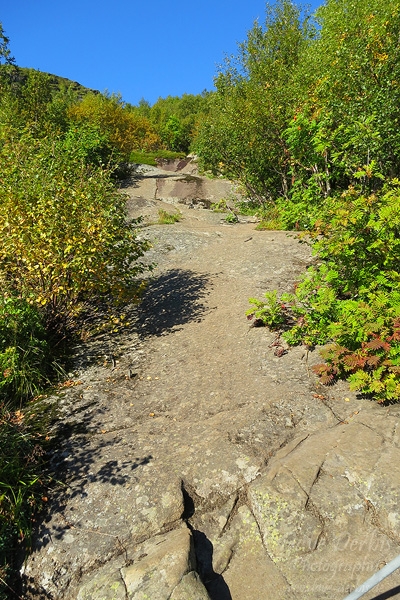
Photo: Reinebringen Trail - Stone plate
This huge stone plate is right at the beginning of the trail. It is pretty steep and when wet I can not image how one should get up there. (It is steeper than it looks in this photo.)
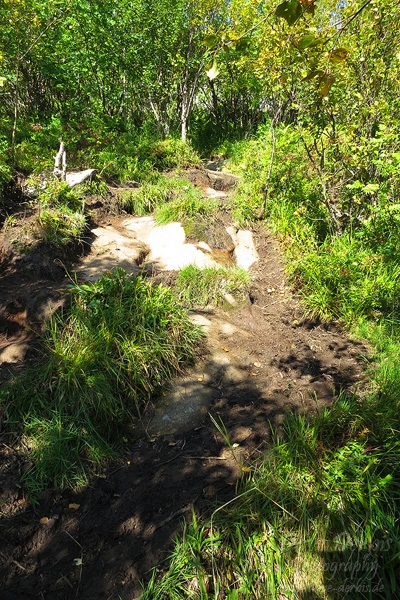
Photo: Reinebringen Trail - Forest
When you have passed the stone plate the trail continues through some forest areas which can still be quite muddy.
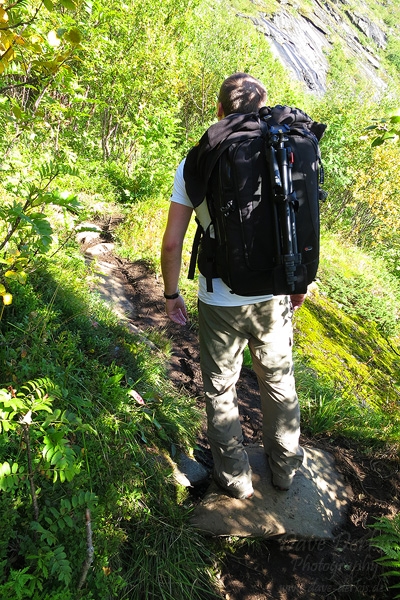
Photo: Ready for the Hike
Thats me, ready for the hike and with about 15kg of equipment on my back. If I had known how strenuous this hike is, I definitely would have left some pieces of equipment in the hut!
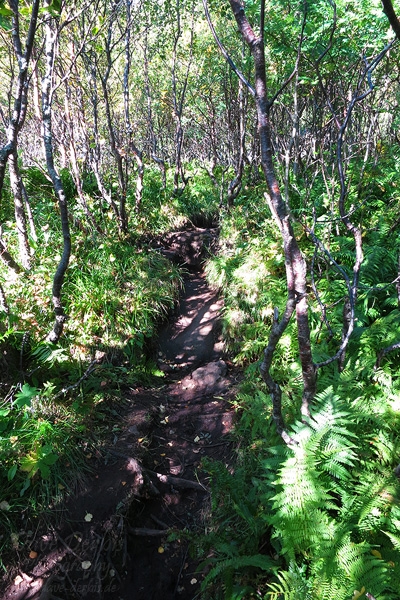
Photo: Hiking Reinebringen - Birch Forest
The trail continues relatively flat through this nice shady birch forest with lots of fern. There are no markings along the trail, but do not worry about it because it is nearly impossible to get lost.
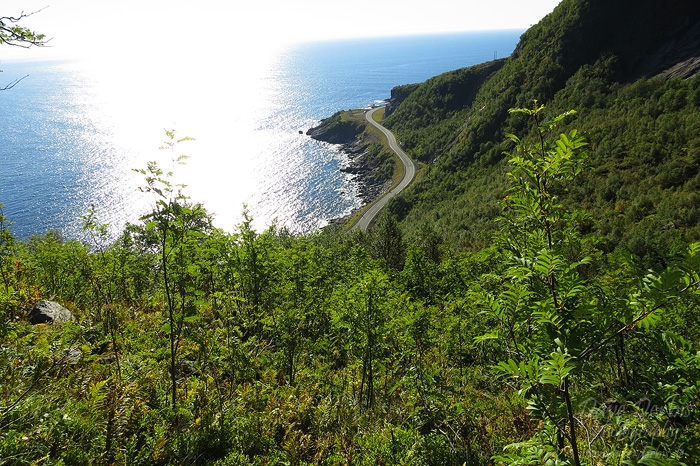
Photo: Hiking Reinebringen - View above the Forest
When leaving the forest you already have this nice view south to the E10. We now had the sun in the back and about 18°C and I started to sweat. Now the path becomes arduous.
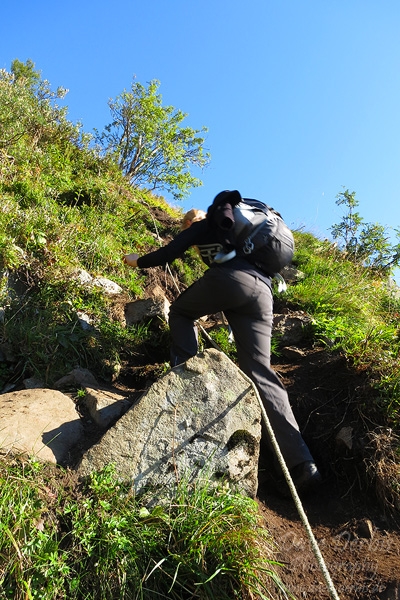
Photo: Hiking Reinebringen - Rope
Sometimes it is no longer hiking - it is almost climbing. Imagine this path when wet and slippery. There are some of these ropes along the way, but I would not count on it for 100% and fully charge it with my weight.

Photo: Hiking Reinebringen - Stony Path
The trail now becomes a mix of stones, mud and grass. Here you see Kirsti going up towards the summit.
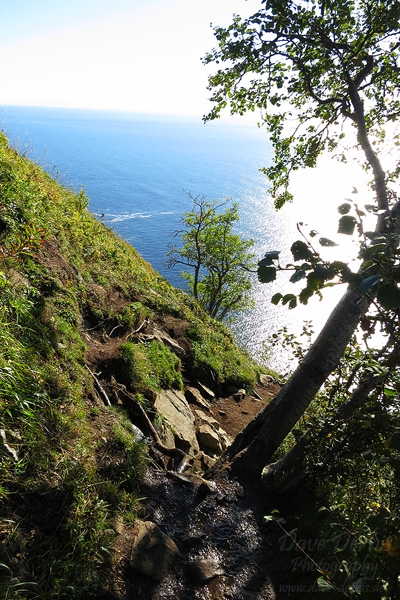
Photo: Hiking Reinebringen - Tree
When you pass this tree another difficult section of the path follows. You have to climb some massive wet rocks. There is a more or less helpful rope available which we have not used.
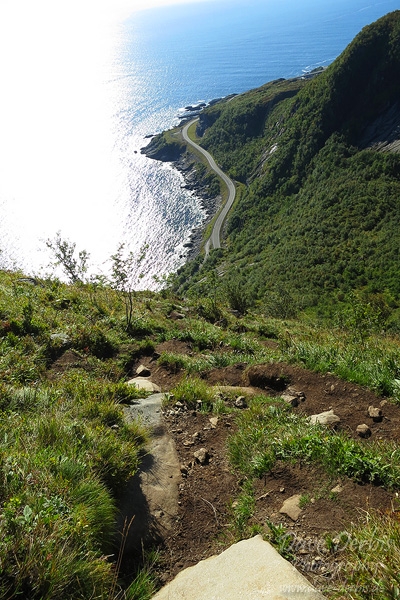
Photo: Hiking Reinebringen - Hillside
The following section is quite steep too. You should either not be afraid of heights or simply just look at the way directly in front of you. Occasionally you will be on all fours to clamber up the trail.
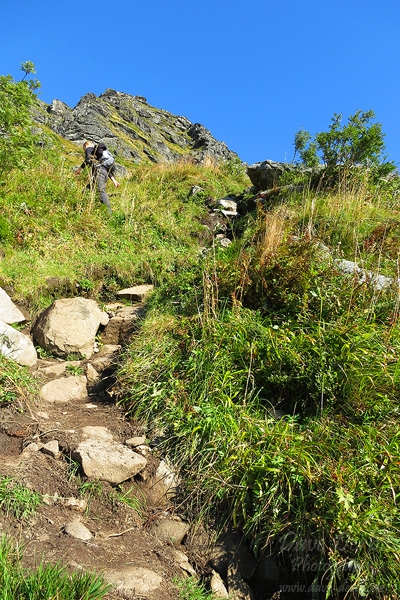
Photo: Hiking Reinebringen - Path
The remainder of the path is not that extreme steep like the last sections but nevertheless, they are tough enough. Especially when you have 15 extra kilos on your back!
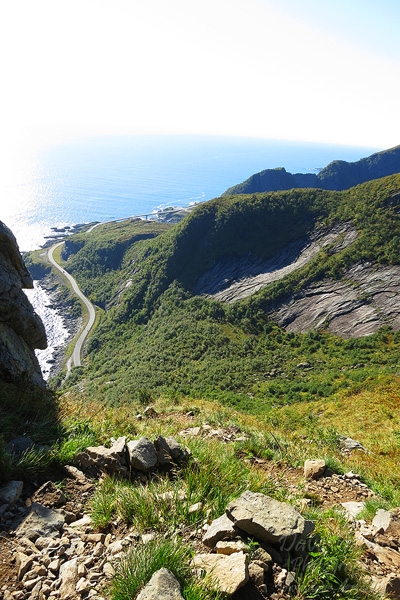
Photo: Hiking Reinebringen - Almost there
When you almost arrived at the top of Reinebringen this is the view south. Be prepared for one of the worlds best views!
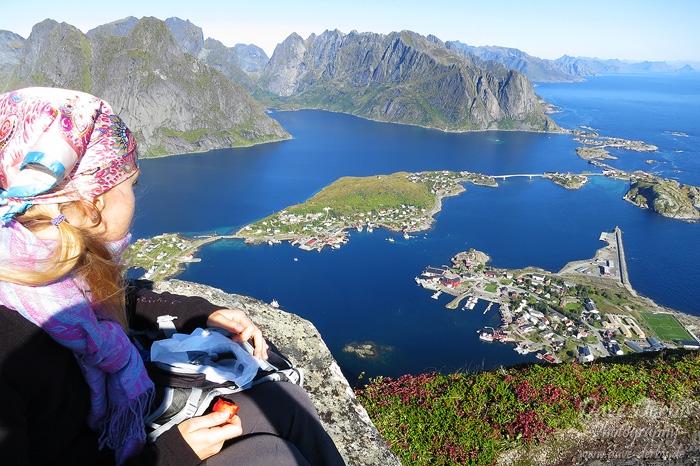
Photo: Hiking Reinebringen - The View
Woohoo! This is the view from Reinebringen on one of those rare arctic sunny days with blue bird skies. It is definitely worth the efforts. Here you see Kirsten taking a rest and soaking in the awesome view over Reine.

Photo: Hiking Reinebringen - Taking Photos
When we arrived at the top of Reinebringen I was pretty exhausted and needed a few minutes to recover before I could start to explore the area and began to enjoy the view. I am currently not on my highest fitness level, I guess. oO Of course, by too much sitting in front of the comuter and too less time spent with outdoor activities. Thats me again on the photo above, composing some images.

Photo: Reinebringen - Prints Available
In this panoramic view above Reinefjorden you see the fishing villages of Reine and Hamnøy. You can stop on Reinebringen and enjoy the view there and turn around - or you explore the path along the ridgeline which is not too physically demanding after the previous climb. Along the path you can enjoy the view towards Kjerkfjorden.
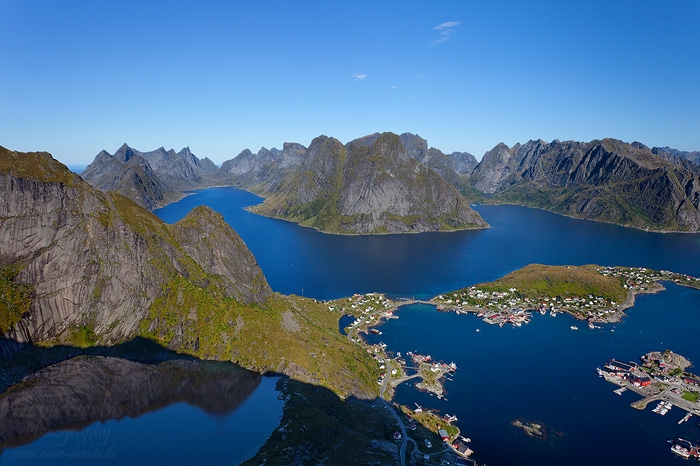
Photo: Reinevatnet Kjerkfjorden - Prints Available
A nice panoramic view of Kjerkfjorden and Reinefjorden. The lake with the reflection in the foreground is Reinevatnet which looks like a volcanic crater but in fact has glacial origins like the rest of the area. The lake is located at 60m above sea level, but is 69m deep so that its bottom is below sea level. Considering the relation between size of the lake's surface compared to its depth, it is one of the deepest lakes in the world.
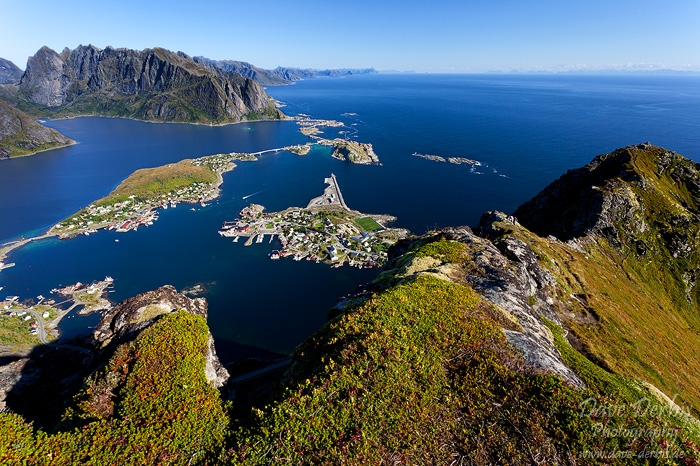
Photo: Reinebringen Summit - Prints Available
This is the summit and the ridge of Reinebringen. Some people pitch their tent along this ridge to be on location for sunrise/sunset or just in order to enjoy the feeling to camp at such an incredible scenery. However, if you also want to camp up there you should pay close attention to the weather forecast and wind.
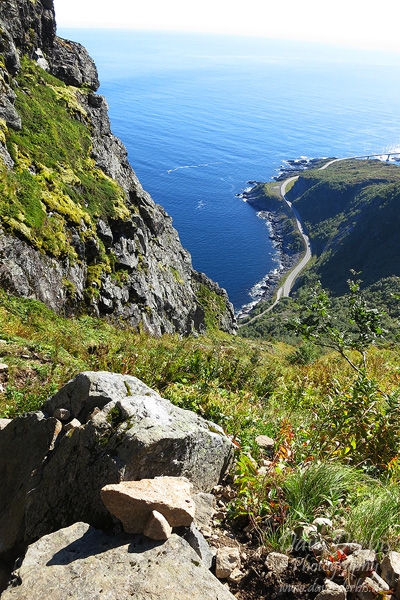
Photo: Hiking Reinebringen - Descent
When you have relaxed, took your photos and in case you have ever enjoyed the view enough you should someday think about the descent.
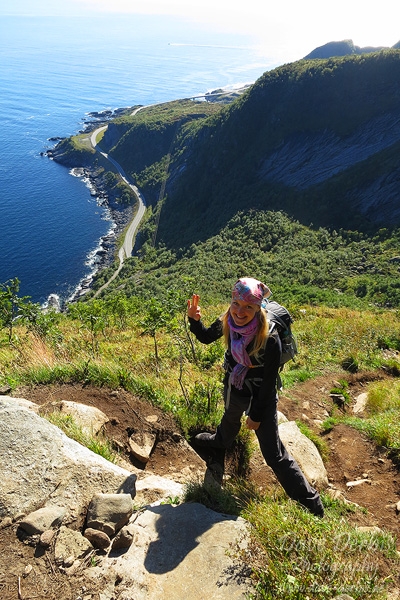
Photo: Hiking Reinebringen - The way down
When you go down you should be as concentrated as in the ascent. One wrong step and you are rolling down the hill or it is less bad and only your ankle is sprained. ;) That said, in fact the descent was not as difficult as I thought it would be.
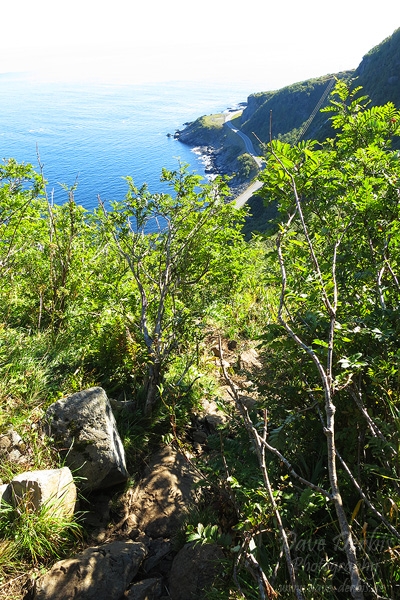
Photo: Hiking Reinebringen - Half way down
The path down is of course not as demanding and exhausting like the climb but again tough enough to feel you legs. Some hiking sticks would have been extremely helpful.
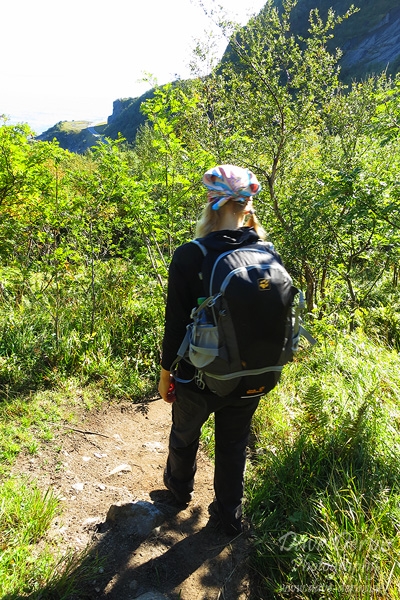
Photo: Hiking Reinebringen - Almost down
Back in the forest the trail is not that steep but again partially very muddy.
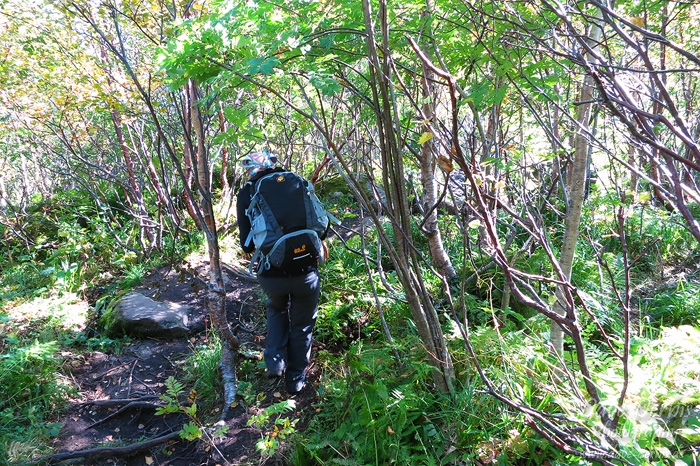
Photo: Hiking Reinebringen - Forest
Finally you go down via the huge stone plate and back to the parking area or Reine or whereever you want.
Back at the hut we called it a day and spent the rest of the afternoon relaxing on our terrace in the sun.
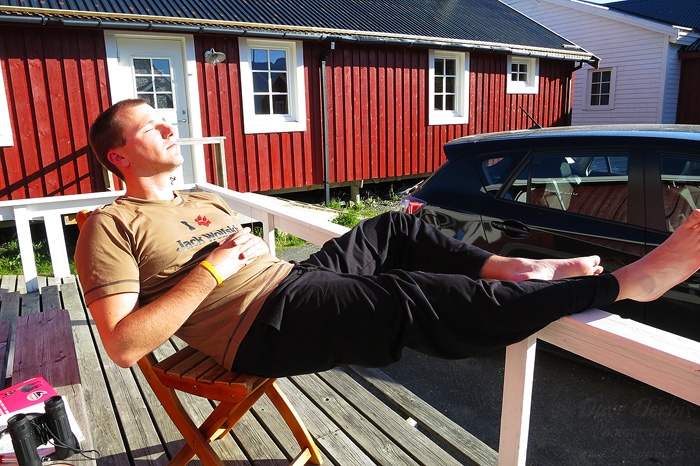
Photo: Hiking Reinebringen - Relaxing
I hope this hiking report was helpful for you in case you plan to go there on your own. Feel free to leave a comment. Take care!
By the way I have some other hiking reports like Bunes Beach, Kvalvika Beach and Tjeldbergtinden in the pipeline for the upcoming weeks - so stay tuned.
Permalink: www.dave-derbis.de/article/hiking-reinebringen-norway/

Nice post! Was looking for info on the lake, like a chalice above the sea!
Great info, thanks a lot!